P7 | Setting Up CRUD for Users in Laravel & Craftable PRO
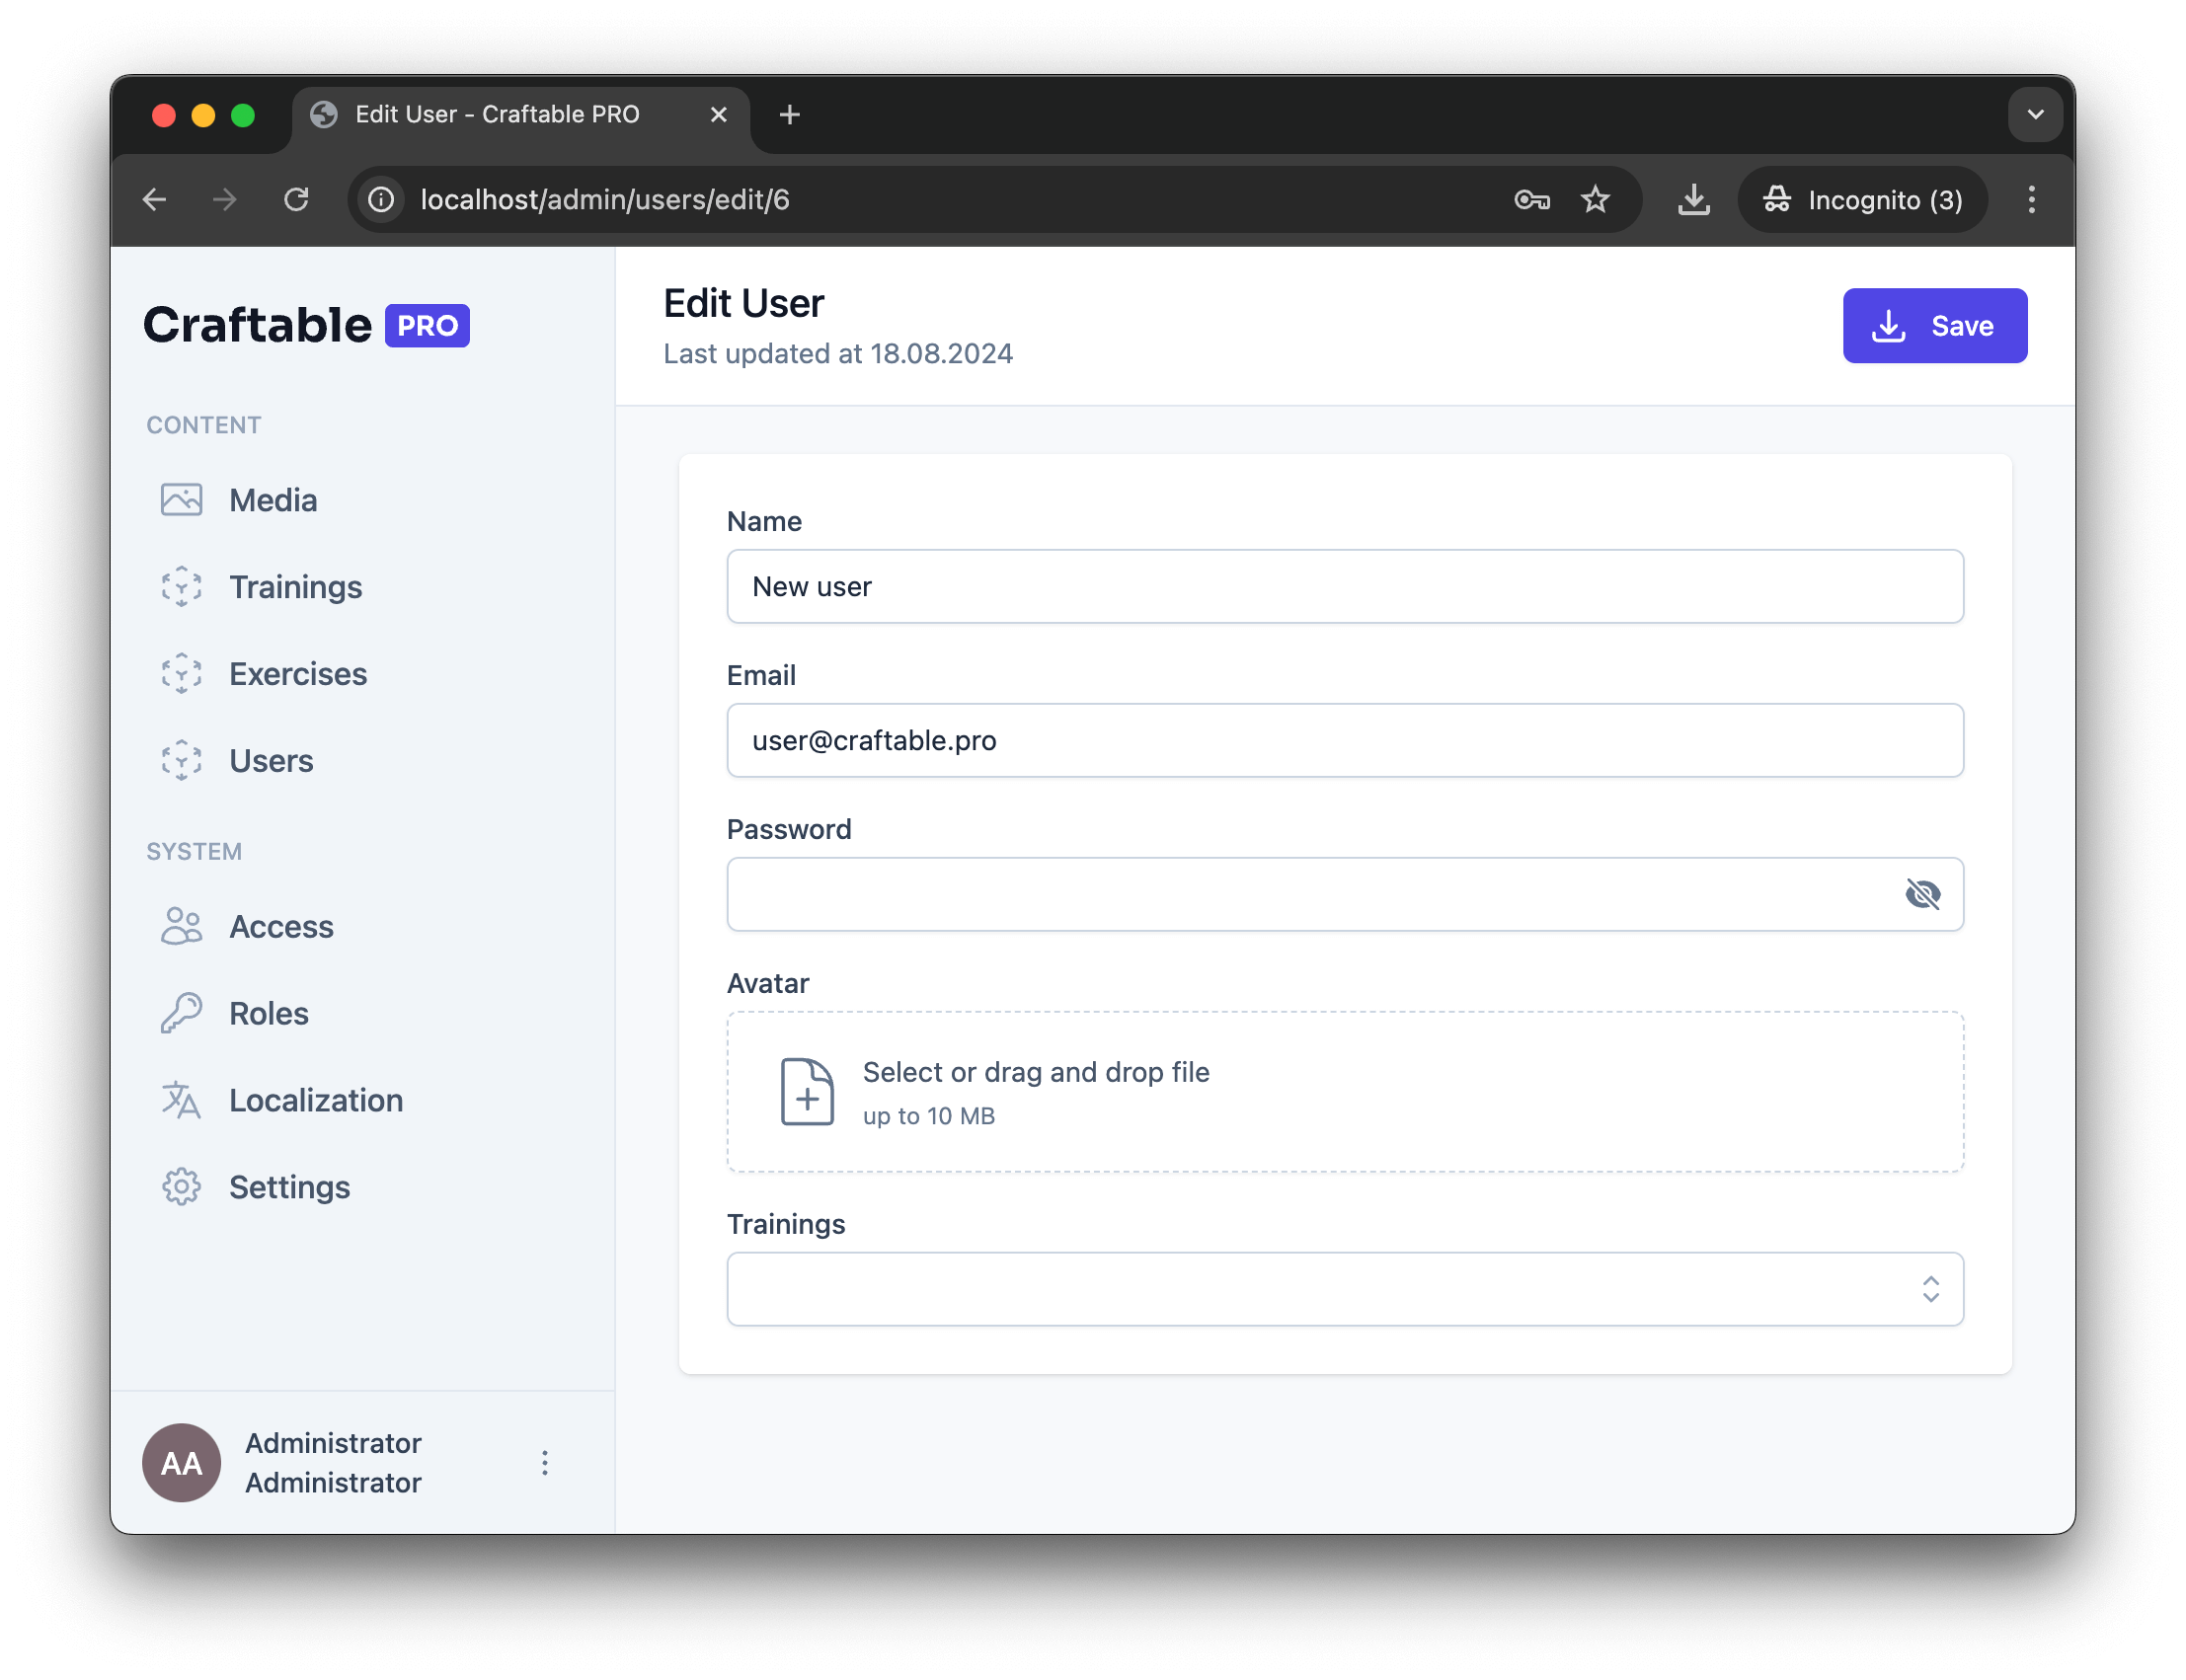
In this video, we’ll continue building our backend training project by adding a module for managing front-end users. These users differ from Craftable PRO admin users, and with this module, we’ll be able to manage their data and track their registered trainings.
Preparing the User Module
The users table is already created as part of Laravel’s default setup, so we don’t need to create it manually. To link users and trainings, we’ve already set up a pivot table named training_user in a previous lesson. This table contains foreign keys for the training_id and user_id columns. For added functionality, you could include a finished_at column in this pivot table to mark trainings as completed. This enhancement is optional and can be a fun homework exercise!
Generating the CRUD for Users
Now, let’s create the CRUD for users using Craftable PRO without the wizard mode. Here’s the command:
php artisan craftable-pro:generate-crud users --listing-columns=name,email --form-columns=name,email,password --media-collections="avatar" --add-relation="belongsToMany(Training->title)"Command Breakdown:
- --listing-columns=name,email: Displays name and email in the admin panel’s listing view.
- --form-columns=name,email,password: Allows editing of name, email, and password in the form view.
- --media-collections="avatar": Adds an avatar image upload feature for users.
- --add-relation="belongsToMany(Training->title)": Establishes a many-to-many relationship between users and trainings, displaying the training title.
We will be asked whether we want to override existing use model. Laravel is shipped with a default user model, and we don't want to override it, even though we'll need to make some modifications later.
Post-Generation Adjustments
Once the CRUD is generated, rebuild the assets using:
npm run craftable-pro:buildAfter testing the generated CRUD, you may notice some issues—specifically with relationships and media upload. Since we chose not to override Laravel’s default user model, we need to manually add functionality for relationships and media.
Adding the Relationship
Modify the user model to include the belongsToMany relationship with the Training model. Here’s an example:
public function trainings() {
    return $this->belongsToMany(Training::class);
}
Enabling Image Upload
To enable image uploads for the avatar, add the following to the user model:
- Implement the HasMedia interface.
- Use the required traits for media management (copied from the Training model).
- Register the media collection with a conversion for thumbnail generation:
public function registerMediaCollections(): void {
    $this->addMediaCollection('avatar');
}
public function registerMediaConversions(Media $media = null): void {
$this->autoRegisterPreviews();
}Testing the User Module

After these adjustments, test the module by adding dummy data in the admin panel. You’ll now see that users can be created, edited, and linked to trainings. The avatar image uploads and displays properly, completing the functionality.
Summary
Since we chose not to override the user model, we had to manually add:
- Implement the HasMedia interface and media traits
- The belongsToMany relationship with trainings.
- Media collections and conversions for avatar uploads.
If your model was generated by Craftable PRO without modifications, these steps would not be necessary. Remember to update the fillable array in your model if you add new fields.
Next Steps: Building the API
With CRUD modules for Trainings, Exercises, and Users complete, we’re ready to start building the API. Stay tuned for the next video, where we’ll dive into API development. See you then!
 P6 | Creating Relational CRU