P9 | Advanced Use of Permissions in Laravel & Craftable PRO
In this tutorial, we’ll explore the advanced use of permissions in Craftable PRO. While we’ve previously covered managing permissions through the Craftable PRO interface, today we’ll dive deeper into understanding the permissions generated by Craftable PRO, creating custom permissions, and applying them to specific cases using Laravel Policies.
Permissions in Craftable PRO
Craftable PRO uses the Spatie permissions package to manage roles and permissions. While roles can be used to restrict access, it’s recommended to always use permissions for more granular control.
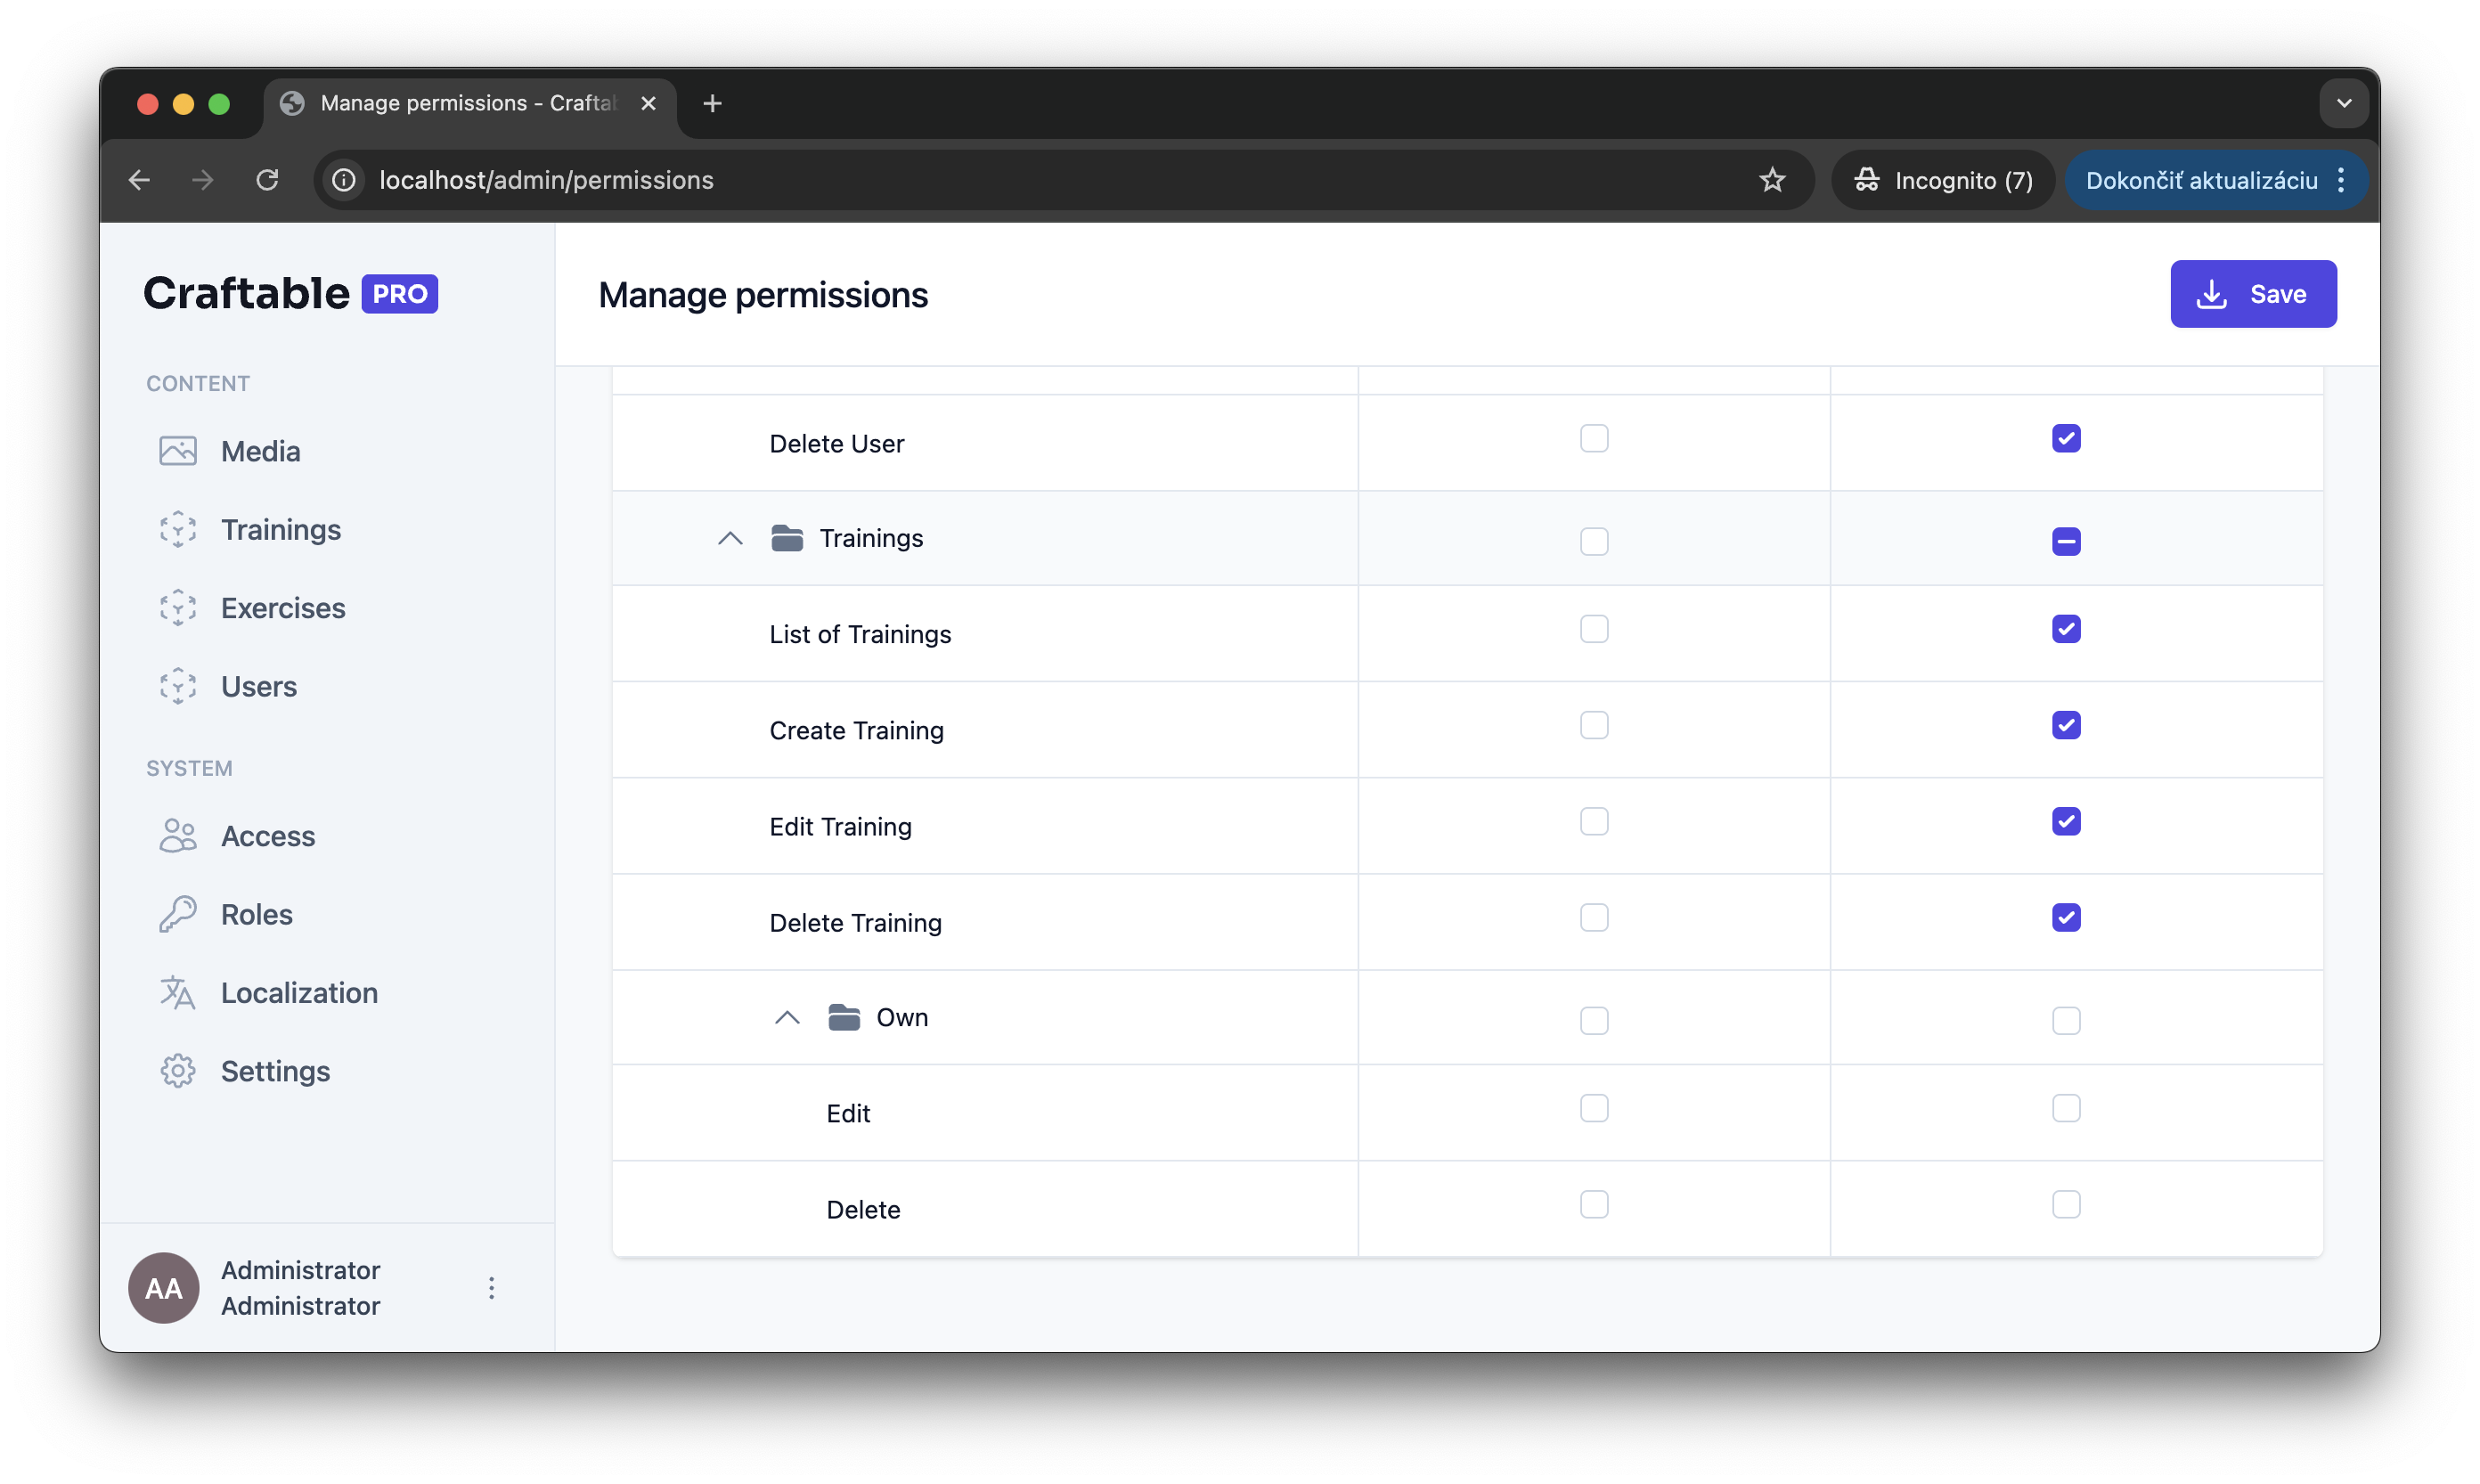
For every CRUD operation, Craftable PRO generates permissions. For example, the Trainings CRUD generates:
- craftable-pro.training.index
- craftable-pro.training.create
- craftable-pro.training.edit
- craftable-pro.training.destroy
These permissions are used in the admin panel and enforced in the generated request files. For instance, the CreateTrainingsRequest file authorizes the create action as follows:
public function authorize()
    {
        return Gate::allows("craftable-pro.training.create");
    }
Adding Trainer-Specific Permissions
Imagine a scenario where a trainer should have permission to edit or delete only their own trainings. To achieve this, we need to:
- Add a field to track the training author.
- Create custom permissions.
- Apply these permissions using Laravel Policies.
Step 1: Add Author Field to Trainings
First, add a craftable_pro_user_id field to the Trainings table to track the training author.
- Generate a migration: sail art make:migration add_craftable_pro_user_id_to_trainings_table. In this migration add craftable_pro_user_id to trainings table.
- Update the CRUD to include the new field in the listing and form views. Use the CRUD generation command to regenerate the files safely if no extensive customizations have been made. In addition to other columns, we need to add craftable_pro_user_id to the listing columns.
- Save the auth ID to craftable_pro_user_id in StoreTrainingRequest like this:
<?php
namespace App\Http\Requests\CraftablePro\Training;

use Illuminate\Foundation\Http\FormRequest;
use Illuminate\Support\Facades\Gate;

class StoreTrainingRequest extends FormRequest
{

...

public function getSanitized()
    {
        $sanitized = $this->validated();
        $sanitized['craftable_pro_user_id'] = auth()->id();
        return $sanitized;
    }

...
}
In the store method of TrainingController, use the getSanitized method to obtain validated data:
public function store(StoreTrainingRequest $request): RedirectResponse
    {
        $training = Training::create($request->getSanitized());

        return redirect()->route('craftable-pro.trainings.index')->with(['message' => ___('craftable-pro', 'Operation successful')]);
    }
Step 2: Create Custom Permissions
We’ll create permissions for trainers to edit or delete only their own trainings. For this, generate a migration to add the following permissions:
- craftable-pro.training.own.edit
- craftable-pro.training.own.destroy
Here’s the migration file structure:
<?php

use Illuminate\Database\Migrations\Migration;
use Illuminate\Support\Facades\DB;

return new class extends Migration
{
    /**
     * @var Repository|mixed
     */
    protected $guardName;

    /**
     * @var array
     */
    protected $permissions;

    /**
     * @var array
     */
    protected $roles;

    public function __construct()
    {
        $this->guardName = 'craftable-pro';

        $permissions = collect(['craftable-pro.training.own.edit', 'craftable-pro.training.own.destroy']);

        //Add New permissions
        $this->permissions = $permissions->map(function ($permission) {
            return [
                'name' => $permission,
                'guard_name' => $this->guardName,
            ];
        })->toArray();
    }

    /**
     * Run the migrations.
     */
    public function up(): void
    {

        $tableNames = config('permission.table_names', [
            'roles' => 'roles',
            'permissions' => 'permissions',
            'model_has_permissions' => 'model_has_permissions',
            'model_has_roles' => 'model_has_roles',
            'role_has_permissions' => 'role_has_permissions',
        ]);

        DB::transaction(function () use ($tableNames) {
            foreach ($this->permissions as $permission) {
                $permissionItem = DB::table($tableNames['permissions'])->where([
                    'name' => $permission['name'],
                    'guard_name' => $permission['guard_name'],
                ])->first();

                if ($permissionItem === null) {
                    DB::table($tableNames['permissions'])->insert($permission);
                }
            }
        });

        app()['cache']->forget(config('permission.cache.key'));
    }

    /**
     * Reverse the migrations.
     */
    public function down(): void
    {
        $tableNames = config('permission.table_names', [
            'roles' => 'roles',
            'permissions' => 'permissions',
            'model_has_permissions' => 'model_has_permissions',
            'model_has_roles' => 'model_has_roles',
            'role_has_permissions' => 'role_has_permissions',
        ]);

        DB::transaction(function () use ($tableNames) {
            foreach ($this->permissions as $permission) {
                $permissionItem = DB::table($tableNames['permissions'])->where([
                    'name' => $permission['name'],
                    'guard_name' => $permission['guard_name'],
                ])->first();
                if ($permissionItem !== null) {
                    DB::table($tableNames['permissions'])->where('id', $permissionItem->id)->delete();
                }
            }
        });

        app()['cache']->forget(config('permission.cache.key'));
    }
};
Run the migration:
sail artisan migrateThe new permissions will now appear in the "Manage Permissions" screen of your admin panel.

Step 3: Implement Laravel Policies
Policies help apply authorization logic for models or resources. Let’s create a policy for the Training model:
1. Generate a policy
sail artisan migrate2. Implement methods for edit and delete actions:
public function edit(User $user, Training $training)
{
    return $this->authorize('craftable-pro.training.own.edit') && $user->id === $training->craftable_pro_user_id;
}
public function destroy(User $user, Training $training)
{
    return $this->authorize('craftable-pro.training.own.destroy') && $user->id === $training->craftable_pro_user_id;
}
3. Update authorize methods in EditTrainingRequest and UpdateTrainingRequest:
public function authorize()
    {
        return Gate::allows("edit", $this->training);
    }
Laravel will automatically link the policy to the Training model if we follow naming conventions.
Testing the New Permissions
- Assign Permissions to a Role: Create a new role called Trainer and assign the custom permissions.
- Impersonate a Trainer: Use Craftable PRO’s impersonal login feature to test the trainer role.
- Test Restrictions: Try to edit a training session authored by someone else. The trainer should be restricted from editing or deleting the training.
With these advanced techniques, you can achieve precise control over roles and permissions in your admin panel. In the next lesson, we’ll dive deeper into translations. See you then!
 P8 | Building an API